How to Download & Install Stock Firmware for Sony Xperia Devices Using XperiFirm and Flashtool
Use XperiFirm and Flashtool to flash stock firmware on Sony Xperia devices
To use XperiFirm, however, there are certain requirements as listed below:
- Windows XP SP3: .NET Framework 4.0 (Not officially supported)
- Windows Vista/7: .NET Framework 4.6 RC
- Windows 8/8.1/10: Pre-installed.
Downloading the stock firmware
- Extract the XperiFirm zip file and you should have an XperiFirm.exeready to use. No installation whatsoever.
- Double click to run it, and then select your Sony Xperia device from the list on the left. Select your region and then click on the firmware version under Available Firmware on the right.
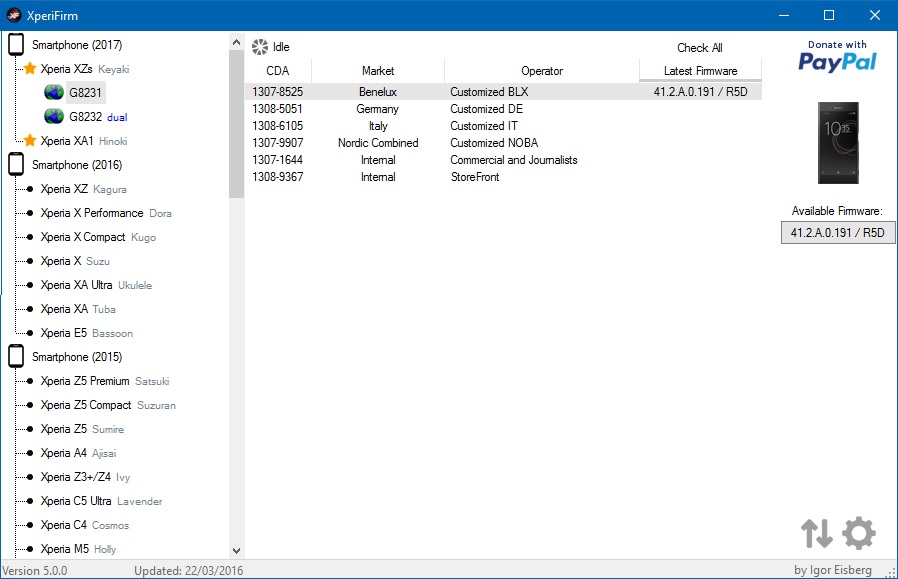
XperiFirm - You will be presented with the firmware details along with an option to Download it. So go ahead and Download.
- Only download the firmware for your model and variant number. For example, if you own an Xperia Z3 (D6603), only browse and download the firmware builds listed under D6603.
- You can choose any download location you want, preferably your desktop.
- Once the download is complete, you will see the following pop message “Unpacked Successfully!” Click OK.
- The same “Unpacked successfully!” message will appear on the download dialog. Click “Close” to proceed to the next step.
Creating FTF file from stock firmware
- Open the Flashtool, and go to Tools>Bundles>Create.
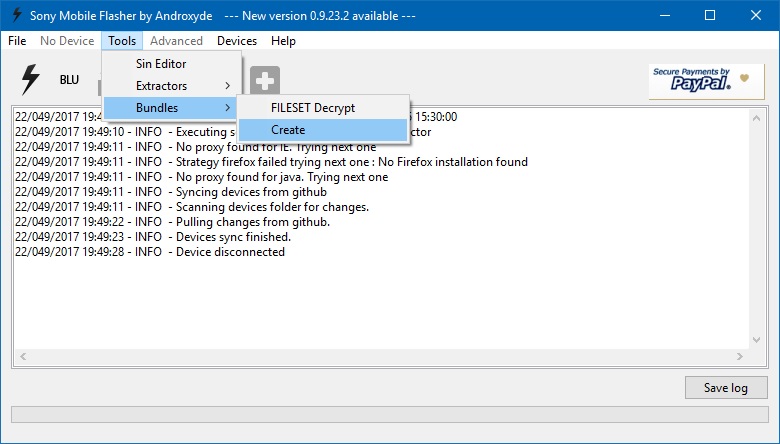
- Select the folder that you downloaded the firmware into as the source folder.
- Double-click the Device field to select your device.
- In branding, type a name that you want to give to the firmware.
- Give it a version number next.

- We recommend that you use the original firmware name and version, so it’s easier to recognize later even if you forget about it.
- Select all the files on the left column and click on the right arrow button to move them all into the right column. To quickly select all the files, click on the first one. Then press and hold shift, and press the down arrow on your keyboard until all files are selected.
- When you’re all set, click Create.
- The process takes a while. What is happening here is that Flashtool is creating a compatible FTF firmware file that can be flashed onto your device with the flashtool.
- Once the process is complete, go to C:\users\<yourusername>\.flashtool\firmwares\ and check if the FTF you just created is there. It should be.
Flashing stock firmware using Flashtool
- Now to flash this FTF firmware file, click on the flash icon on flashtool.
- Select Flashmode in the dialogue box that appears and click OK.
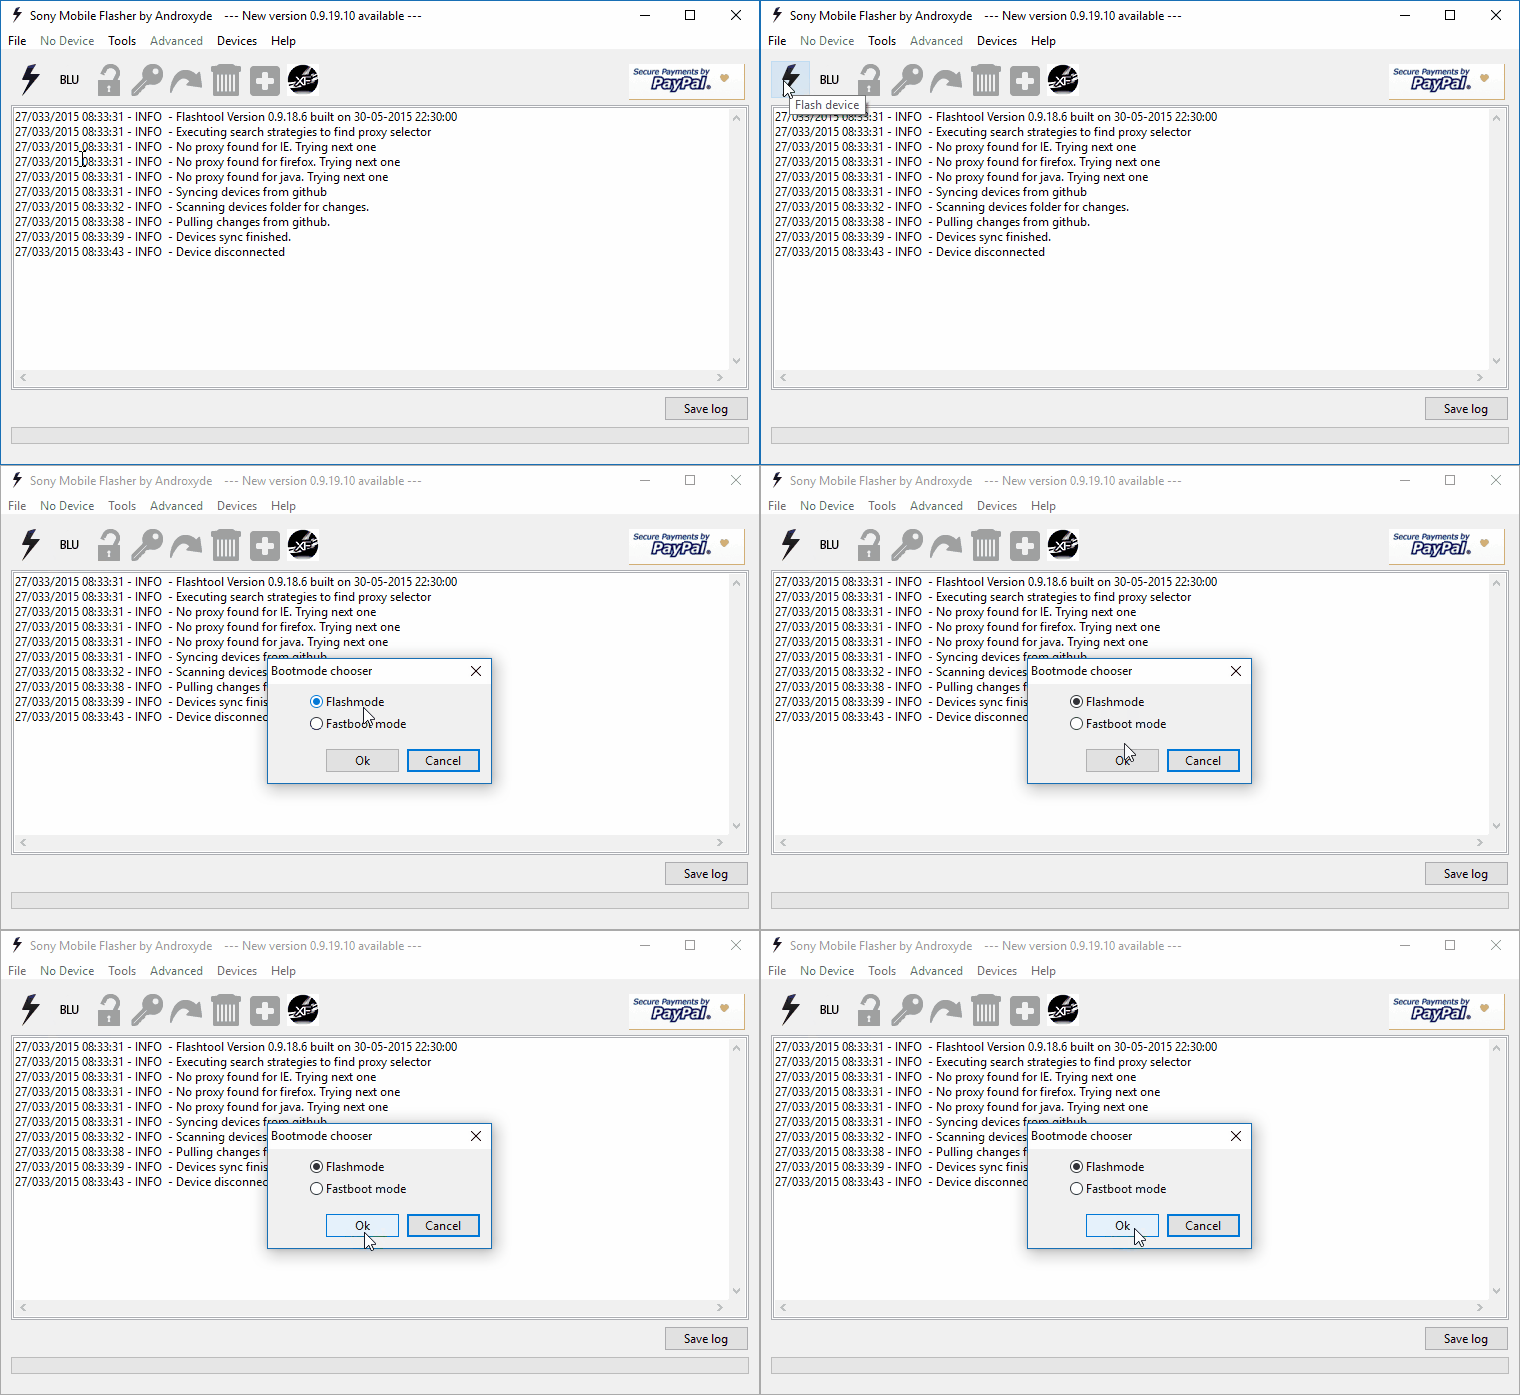
- A new Window will show you all the firmware files present in the flashtool firmware folder on the left side. Select the FTF you just created.
- On the right of the window, under Wipe, tick DATA, CACHE, and APPSLOG. If you’re using flashtool v0.9.19.10 and older, make sure you tick the SIMLOCK option as well. For newer versions of flashtool, make sure SIMLOCK is unticked.

- Click Flash.
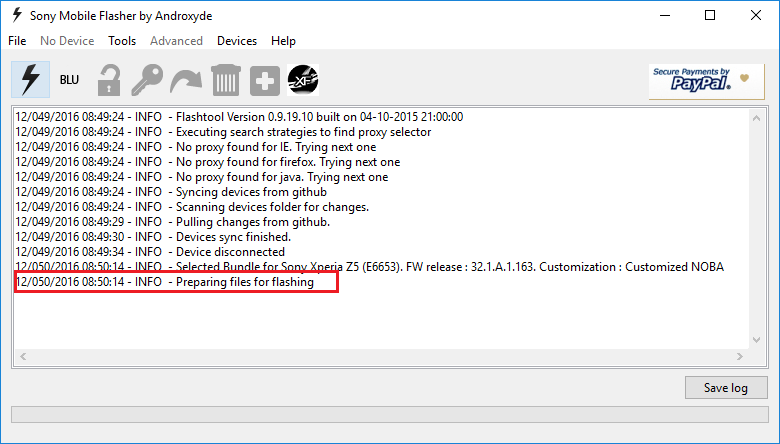
- Preparing files can take while. Sometimes more than a couple of minutes even. Once it is done, however, you will be prompted to connect your device.
- Your device needs to be connected in Flashmode. So turn it off, then press and hold the Volume Down button when connecting the USB cable to your device. The LED on your device should light up in green.
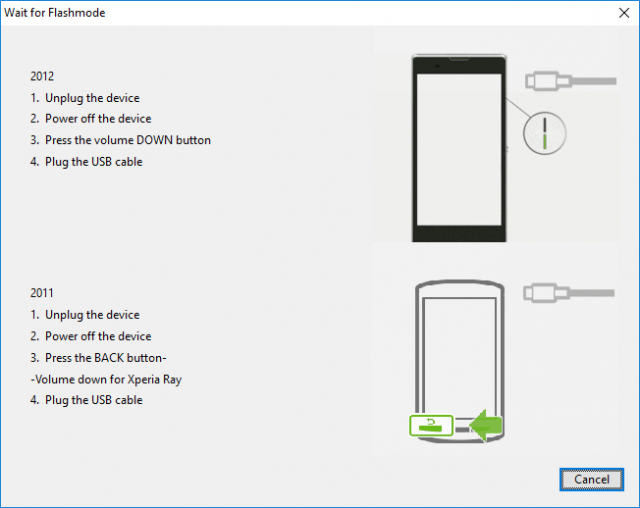
- If you connected your device correctly, the flashing should begin. Make sure the connection is not loose. Sometimes a corrupt FTF can also cause the process to fail.
- The flashing can also take a while depending on your device, the USB port, and the cable.
- Once it is finished, you will see the message displayed on flashtool.
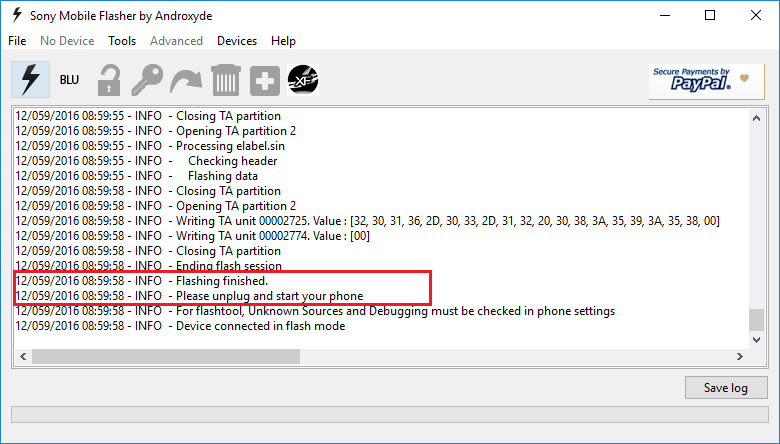
Do what the flashtool says, unplug your device and turn it on. Your new, or old, stock firmware should be ready to boot up. The first boot is always the longest, and you might have to wait a couple of minutes.
Source : Droidviews


No comments